# 投稿指南
Contributions to the PX4 User Guide are very welcome; from simple fixes to spelling and grammar, through to the creation of whole new sections.
This topic explains how to make and test changes. Towards the end there is a basic style guide.
提示
Note You will need a (free) Github (opens new window) account to contribute to the guides.
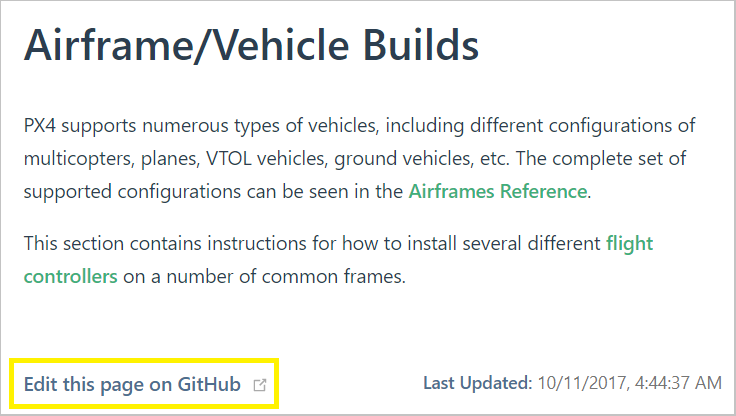
# 快速更改
Simple changes to existing content can be made by clicking the Edit this page on GitHub link that appears at the bottom of every page (this opens the page on Github for editing).
The guide uses the Gitbook (opens new window) toolchain. Change requests can be either done on the Gitbook website using the Gitbook editor (opens new window) or locally (more flexible, but less user-friendly).
- Open the page.
- Click the Edit this page on GitHub link below the page content.
- At the bottom of the page you'll be prompted to create a separate branch and then guided to submit a pull request.
- Below the Github page editor you'll be prompted to create a separate branch and then guided to submit a pull request.
The documentation team will review the request and either merge it or work with you to update it.
# Adding New Content - Big Changes
More substantial changes, including adding new pages or adding/modifying images, aren't as easy to make (or properly test) on Github. For these kinds of changes we suggest using the same approach as for code:
- The Developer Guide is for documentation that is relevant to software developers. This includes users who need to:
- Modify the documentation as needed (add, change, delete).
- Test that it builds properly using Vuepress.
- In order to contribute many changes to the documentation, it is recommended that you follow these steps to add the changes locally and then create a pull request:
The following explain how to get the source code, build locally (to test), and modify the code.
# What Goes Where?
指南使用 旧版Gitbook 工具链 (opens new window) The instructions below explain how to get git and use it on your local computer.
- git add <file name> git commit -m "<your commit message>"
- 如果您还没有注册Github,请先注册 (opens new window) Github 账户
- Create a copy (Fork) of the PX4 User Guide repo (opens new window) on Github (instructions here (opens new window)).
- Clone (copy) your forked repository to your local computer:For example, to clone the PX4 userguide fork for a user with Github account "john_citizen":
cd ~/wherever/ git clone https://github.com/<your git name>/px4_user_guide.gitgit clone https://github.com/john_citizen/px4_user_guide.git - Navigate to your local repository:
cd ~/wherever/px4_user_guide - Add a remote called "upstream" to point to the PX4 version of the library:
git remote add upstream https://github.com/PX4/px4_user_guide.git
提示
A "remote" is a handle to a particular repository. The remote named origin is created by default when you clone the repository, and points to your fork of the guide. Above you create a new remote upstream that points to the PX4 project version of the documents.
- Create a branch for your changes:This creates a local branch on your computer named
git checkout -b <your_feature_branch_name>your_feature_branch_name. - Make changes to the documentation as needed (general guidance on this in following sections)
- Once you are satisfied with your changes, you can add them to your local branch using a "commit":For a good commit message, please refer to Contributing section.
git add <file name> git commit -m "<your commit message>" - Push your local branch (including commits added to it) to your forked repository on Github.
git push origin your_feature_branch_name - Go to your forked repository on Github in a web browser, e.g.:
https://github.com/<your git name>/px4_user_guide.git. There you should see the message that a new branch has been pushed to your forked repository. - Create a pull request (PR):
- On the right hand side of the "new branch message" (see one step before), you should see a green button saying "Compare & Create Pull Request". Press it.
- A pull request template will be created. It will list your commits and you can (must) add a meaningful title (in case of a one commit PR, it's usually the commit message) and message (explain what you did for what reason. Check other pull requests (opens new window) for comparison)
- You're done! Maintainers for the PX4 User Guide will now have a look at your contribution and decide if they want to integrate it. Check if they have questions on your changes every once in a while.
# Gitbook Documentation Toolchain
概述:
- Install the Vuepress prerequiresites (opens new window):
- Navigate to your local repository:
cd ~/wherever/px4_user_guide - Install dependencies (including Vuepress):
yarn install - Preview and serve the library:
yarn docs:dev- 使用 PX4 控制飞行器
- Stop serving using CTRL+C in the terminal prompt.
- Build the library using:
# Ubuntu
yarn docs:build
# Windows
yarn docs:buildwin
提示
Use yarn docs:dev to preview changes as you make them (documents are updated and served very quickly). Before submitting a PR you should also build it using docs:build, as this can highlight issues that are not visible when using docs:dev.
# Source Code Structure
The guide uses the Vuepress (opens new window) toolchain. The PX4 User Guide has some minor differences, mostly related to configuration and setup.
In overview:
- Pages are written in separate files using markdown.
- The syntax is almost the same as that used by the Github wiki.
- Vuepress also supports some markdown extensions (opens new window). We try and avoid using these, except for tips, warning, etc. (opens new window).
- This is a multilingual (opens new window) book:
- Pages for each language are stored in the folder named for the associated language code (e.g. "zh" for Chinese, "ko" for Korean).
- Only edit the ENGLISH (/en) version of files. We use Crowdin to manage the translations.
- All pages must be in an appropriately named sub-folder of /en (e.g. this page is in folder en/contribute/).
- This makes linking easier because other pages and images are always as the same relative levels
- The structure of the book is defined in SUMMARY.md
- If you add a new page to the guide you must also add an entry to this file! :::tip This is not "standard vuepress" way to define the sidebar (the summary file is imported by .vuepress/get_sidebar.js (opens new window)). :::
- Images must be stored in a sub folder of /assets. This is two folders down from content folders, so if you add an image you will reference it like:
 - A file named package.json defines any dependencies of the build.
- A web hook is used to track whenever files are merged into the master branch on this repository, causing the book to rebuild.
# 文档规范指南
All PX4/Dronecode documentation is free to use and modify under terms of the permissive CC BY 4.0 (opens new window) licence.
# 翻译
图片
- Put new files in an appropriate sub-folder of /en/. Do not further nest folders.
- The structure of the book is defined in a file named SUMMARY.md. In particular, image filenames should describe what they contain.
- This is a multilingual (opens new window) book, so there is a LANGS.md file in the root directory defining what languages are supported. Pages for each language are stored in the folder named for the associated language code (e.g. "zh" for Chinese, "en" for English).
内容:
- 将新文件放入相应的子文件夹
- New images should be created in a sub-folder of /assets/ by default (so they can be shared between translations).
Content:
- Use "style" (bold, emphasis, etc) consistently.
- Bold for button presses and menu definitions.
- Emphasis for tool names.
- Otherwise use as little as possible.
- New images should be created in a sub-folder of /assets/ by default (so they can be shared between translations).
- The page title should be a first level heading (#). All other headings should be h2 (##) or lower.
- Don't add any style to headings.
- Don't translate the first part of a note, tip or warning declaration (e.g.
::: tip) as this precise text is required to render the note properly.
- Use "style" (bold, emphasis, etc) consistently.
# 许可证
Add new documentation in-line with the existing structure!
Some of the main categories are:
- Development: content related to:
- Evolving the platform (new modes, modules, flight modes, hardware, software and hardware architecture and porting).
- "Experimental" work that requires developer expertise to reproduce.
- Flying: content related to flying a standard vehicle (flight modes, arming, taking off, landing)
- Basic configuration: Configuration that every vehicle will need to do
- 不要在标题中添加任何样式。
- Peripherals: Documentation on different hardware that can be used.
- This also includes setup and configuration information for hardware that isn't covered in Basic configuration.
- Basic Assembly: Assembly of an autopilot and its main peripherals
- Airframe Builds: Examples of how to build a whole system.
# Translations
For information about translation see: Translation.
# Licence
All PX4/Dronecode documentation is free to use and modify under terms of the permissive CC BY 4.0 (opens new window) licence.