# Bash on Windows 工具链
注意
This development environment is not supported. See Toolchain Installation for information about the environments and tools we do support!
设置开发环境的最简单的方法是使用 windows_bash_nuttx.sh 安装脚本 (脚本文件的详细说明见 下文)。
- 编译针对 NuttX/Pixhawk 平台的固件。
- 使用 JMAVSim 进行PX4仿真 (需要搭配一个基于Windows的 X-Windows 应用来显示仿真UI界面)。
注解
This mechanism only works on Windows 10. It essentially runs the toolchain in a virtual machine, and is relatively slow compared to other solutions.
# 设置开发环境
固件编译流程(以编译 px4_fmu-v4 的固件为例):
To setup the development environment:
- 在Windows 10上启用、安装 Bash on Windows (opens new window)。
- 打开 bash shell 命令行界面。
- 下载 windows_bash_nuttx.sh 脚本文件:
wget https://raw.githubusercontent.com/PX4/Devguide/master/build_scripts/windows_bash_nuttx.sh - 使用如下命令运行安装脚本 (根据需要确认任何提示): sh source windows_bash_nuttx.sh
bash windows_bash_nuttx.sh
# 编译固件
JMAVSim 运行流程:
- 在 bash shell 命令行界面输入如下指令:
cd ~/src/Firmware
make px4_fmu-v4_default
成功完成编译后可以在 `Firmware/build/px4_fmu-v4_default/px4_fmu-v4_default.px4` 文件夹下找到编译好的固件。
:::note
The `make` commands to build firmware for other boards can be found in [Building the Code](../dev_setup/building_px4.md#nuttx-pixhawk-based-boards).
:::
1. 在 Windows 平台上无法直接在 bash shell 中使用 `upload` 命令完成固件的烧写,你可以使用 *QGroundControl* 或者 *Mission Planner* 烧写自定义的固件。
### 仿真模拟 (JMAVSim)
Bash on Windows does not include support for UI libraries. In order to display the jMAVSim UI you will first need to install an X-Window application like [XMing](https://sourceforge.net/projects/xming/) into Windows.
此外, 由于 Bash on Windows 不支持运行32位 ELF 程序,该脚本弃用了来自 `https://launchpad.net/gcc-arm-embedded` 的默认32位编译器,改用 [64 bit arm-none-eabi compiler](https://github.com/SolinGuo/arm-none-eabi-bash-on-win10-.git) 。
1. 在 Windows 平台安装并启动 [XMing](https://sourceforge.net/projects/xming/)。
1. 在 bash shell 命令行界面输入如下指令: sh export DISPLAY=:0 >
```sh
sh
export DISPLAY=:0
export GAZEBO_IP=127.0.0.1
make px4_sitl gazebo
提示
Add this line to the Ubuntu .bashrc file if you don't want to enter it every session.
在 bash shell 界面中启动 px4 和 jmavsim:
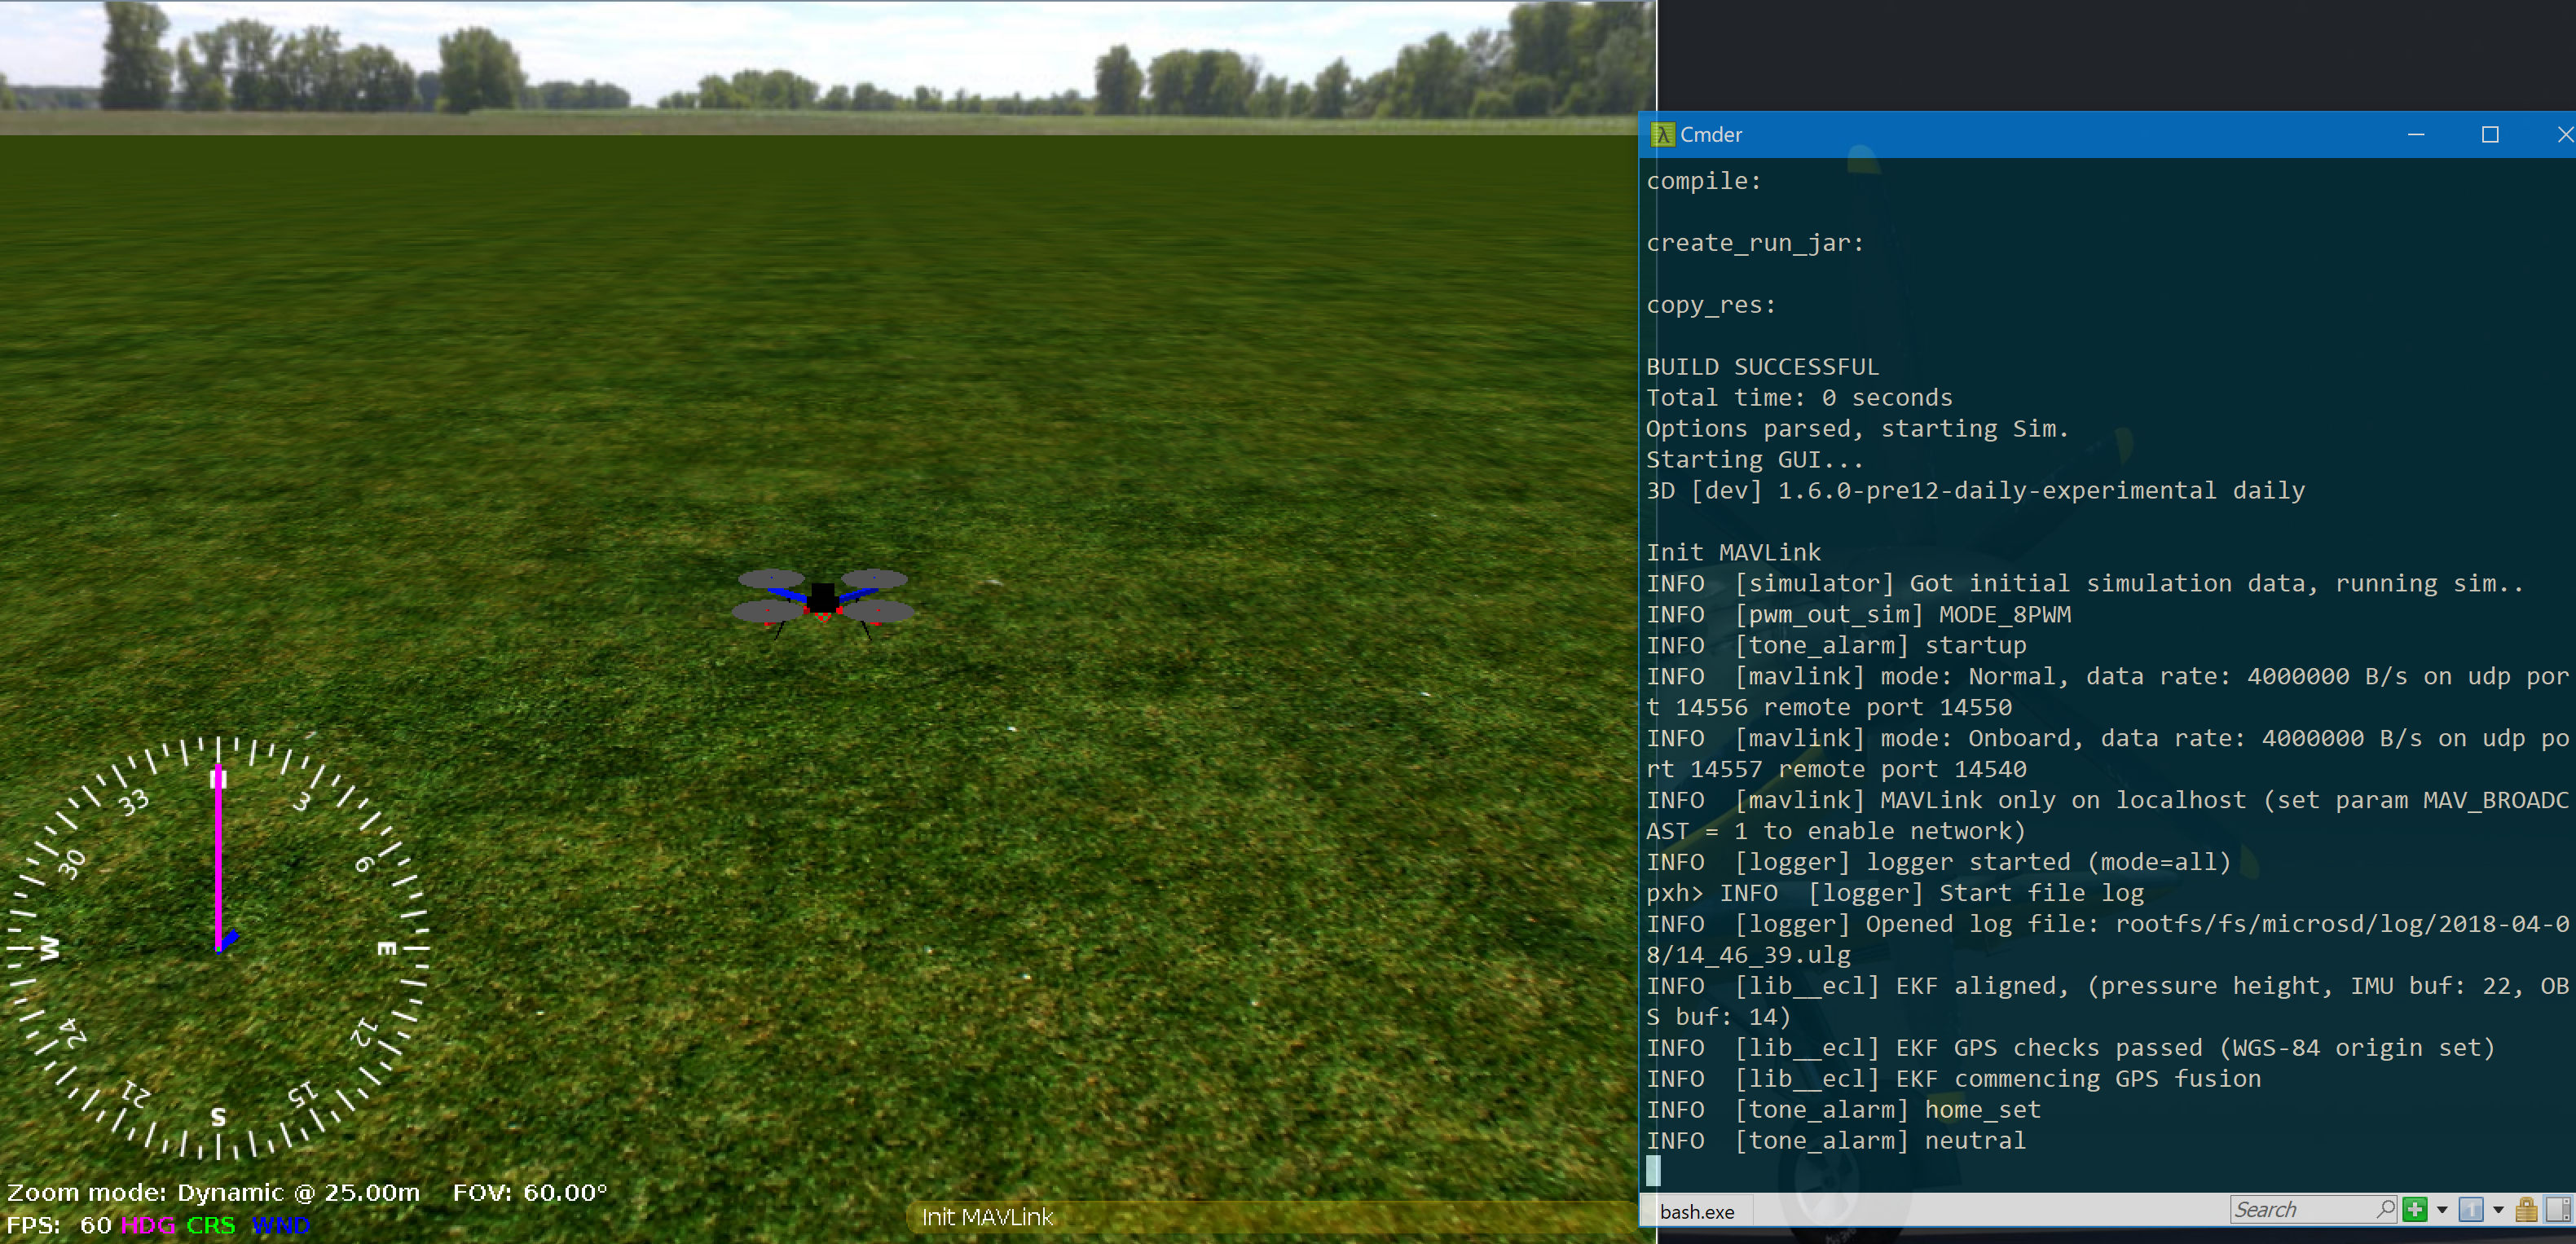
make px4_sitl jmavsimJMAVSim 的UI界面会显示在 XMing 程序中,如下所示:
注意
Gazebo can similarly be run within Ubuntu Bash for Windows, but too slow to be useful. To try this, follow the ROS kinetic install guide (opens new window) and run Gazebo in the Bash shell as shown:
export DISPLAY=:0
export GAZEBO_IP=127.0.0.1
make px4_sitl gazebo
# 开发环境安装脚本详情
The windows_bash_nuttx.sh build script modifies the Ubuntu build instructions to remove Ubuntu-specific and UI-dependent components, including the Qt Creator IDE and the simulators.
In addition, it uses a 64 bit arm-none-eabi compiler (opens new window) since BashOnWindows doesn't run 32 bit ELF programs (and the default compiler from https://launchpad.net/gcc-arm-embedded is 32 bit).
To add this compiler to your environment manually:
下载编译器:
下载编译器:
  sh
  wget https://github.com/SolinGuo/arm-none-eabi-bash-on-win10-/raw/master/gcc-arm-none-eabi-5_4-2017q2-20170512-linux.tar.bz2
Bash On Windows 控制台中使用命令行进行解压:
该命令会将 arm gcc cross-compiler 解压至: ``` gcc-arm-none-eabi-5_4-2017q2/bin ```Bash On Windows 控制台中使用命令行进行解压: sh tar -xvf gcc-arm-none-eabi-5_4-2017q2-20170512-linux.tar.bz2 该命令会将 arm gcc cross-compiler 解压至: <code>gcc-arm-none-eabi-5_4-2017q2/bin</code>将下面这行命令添加到环境中(将该行添加到 bash 配置文件中完成永久性更改)
export PATH=$HOME/gcc-arm-none-eabi-5_4-2017q2/bin:\$PATHexport PATH=$HOME/gcc-arm-none-eabi-5_4-2017q2/bin:$PATH