# Windows WSL-Based Development Environment
WARNING
This development environment is not supported. See Toolchain Installation for information about the environments and tools we do support!
The easiest way to setup the environment is to use the windows_bash_nuttx.sh script (details for script are given below).
- Build firmware for NuttX/Pixhawk targets.
- Run the PX4 JMAVSim simulation (using a Windows-hosted X-Windows app to display the UI)
Note
This mechanism only works on Windows 10. It essentially runs the toolchain in a virtual machine, and is relatively slow compared to other solutions.
# Setup Environment
cd ~/src/Firmware make px4_fmu-v4_default
To setup the development environment:
- Install Bash on Windows (opens new window).
- Open the bash shell.
- Download the windows_bash_nuttx.sh:
wget https://raw.githubusercontent.com/PX4/Devguide/master/build_scripts/windows_bash_nuttx.sh - Run the script using the command below (acknowledging any prompts as required): sh source windows_bash_nuttx.sh
bash windows_bash_nuttx.sh
# Build Firmware
To build the firmware (i.e. for px4_fmu-v4):
- Enter the following commands in the bash shell:On successful completion you'll find the firmware here:
for px4_fmu-v4):Firmware/build/px4_fmu-v4_default/px4_fmu-v4_default.px4
Note
The make commands to build firmware for other boards can be found in Building the Code.
- You can flash the custom firmware on Windows using QGroundControl or Mission Planner (it is not possible to directly flash the firmware from within the bash shell using the
uploadcommand).
# Simulation (JMAVSim)
Bash on Windows does not include support for UI libraries. In order to display the jMAVSim UI you will first need to install an X-Window application like XMing (opens new window) into Windows.
In addition, it uses a 64 bit arm-none-eabi compiler (opens new window) since BashOnWindows doesn't run 32 bit ELF programs (and the default compiler from https://launchpad.net/gcc-arm-embedded is 32 bit).
- Install and start XMing (opens new window) on Windows.
- Enter the following command in the bash shell: sh export DISPLAY=:0 >
sh
export DISPLAY=:0 export GAZEBO_IP=127.0.0.1 make px4_sitl gazebo
:::tip
Add this line to the Ubuntu **.bashrc** file if you don't want to enter it every session.
:::
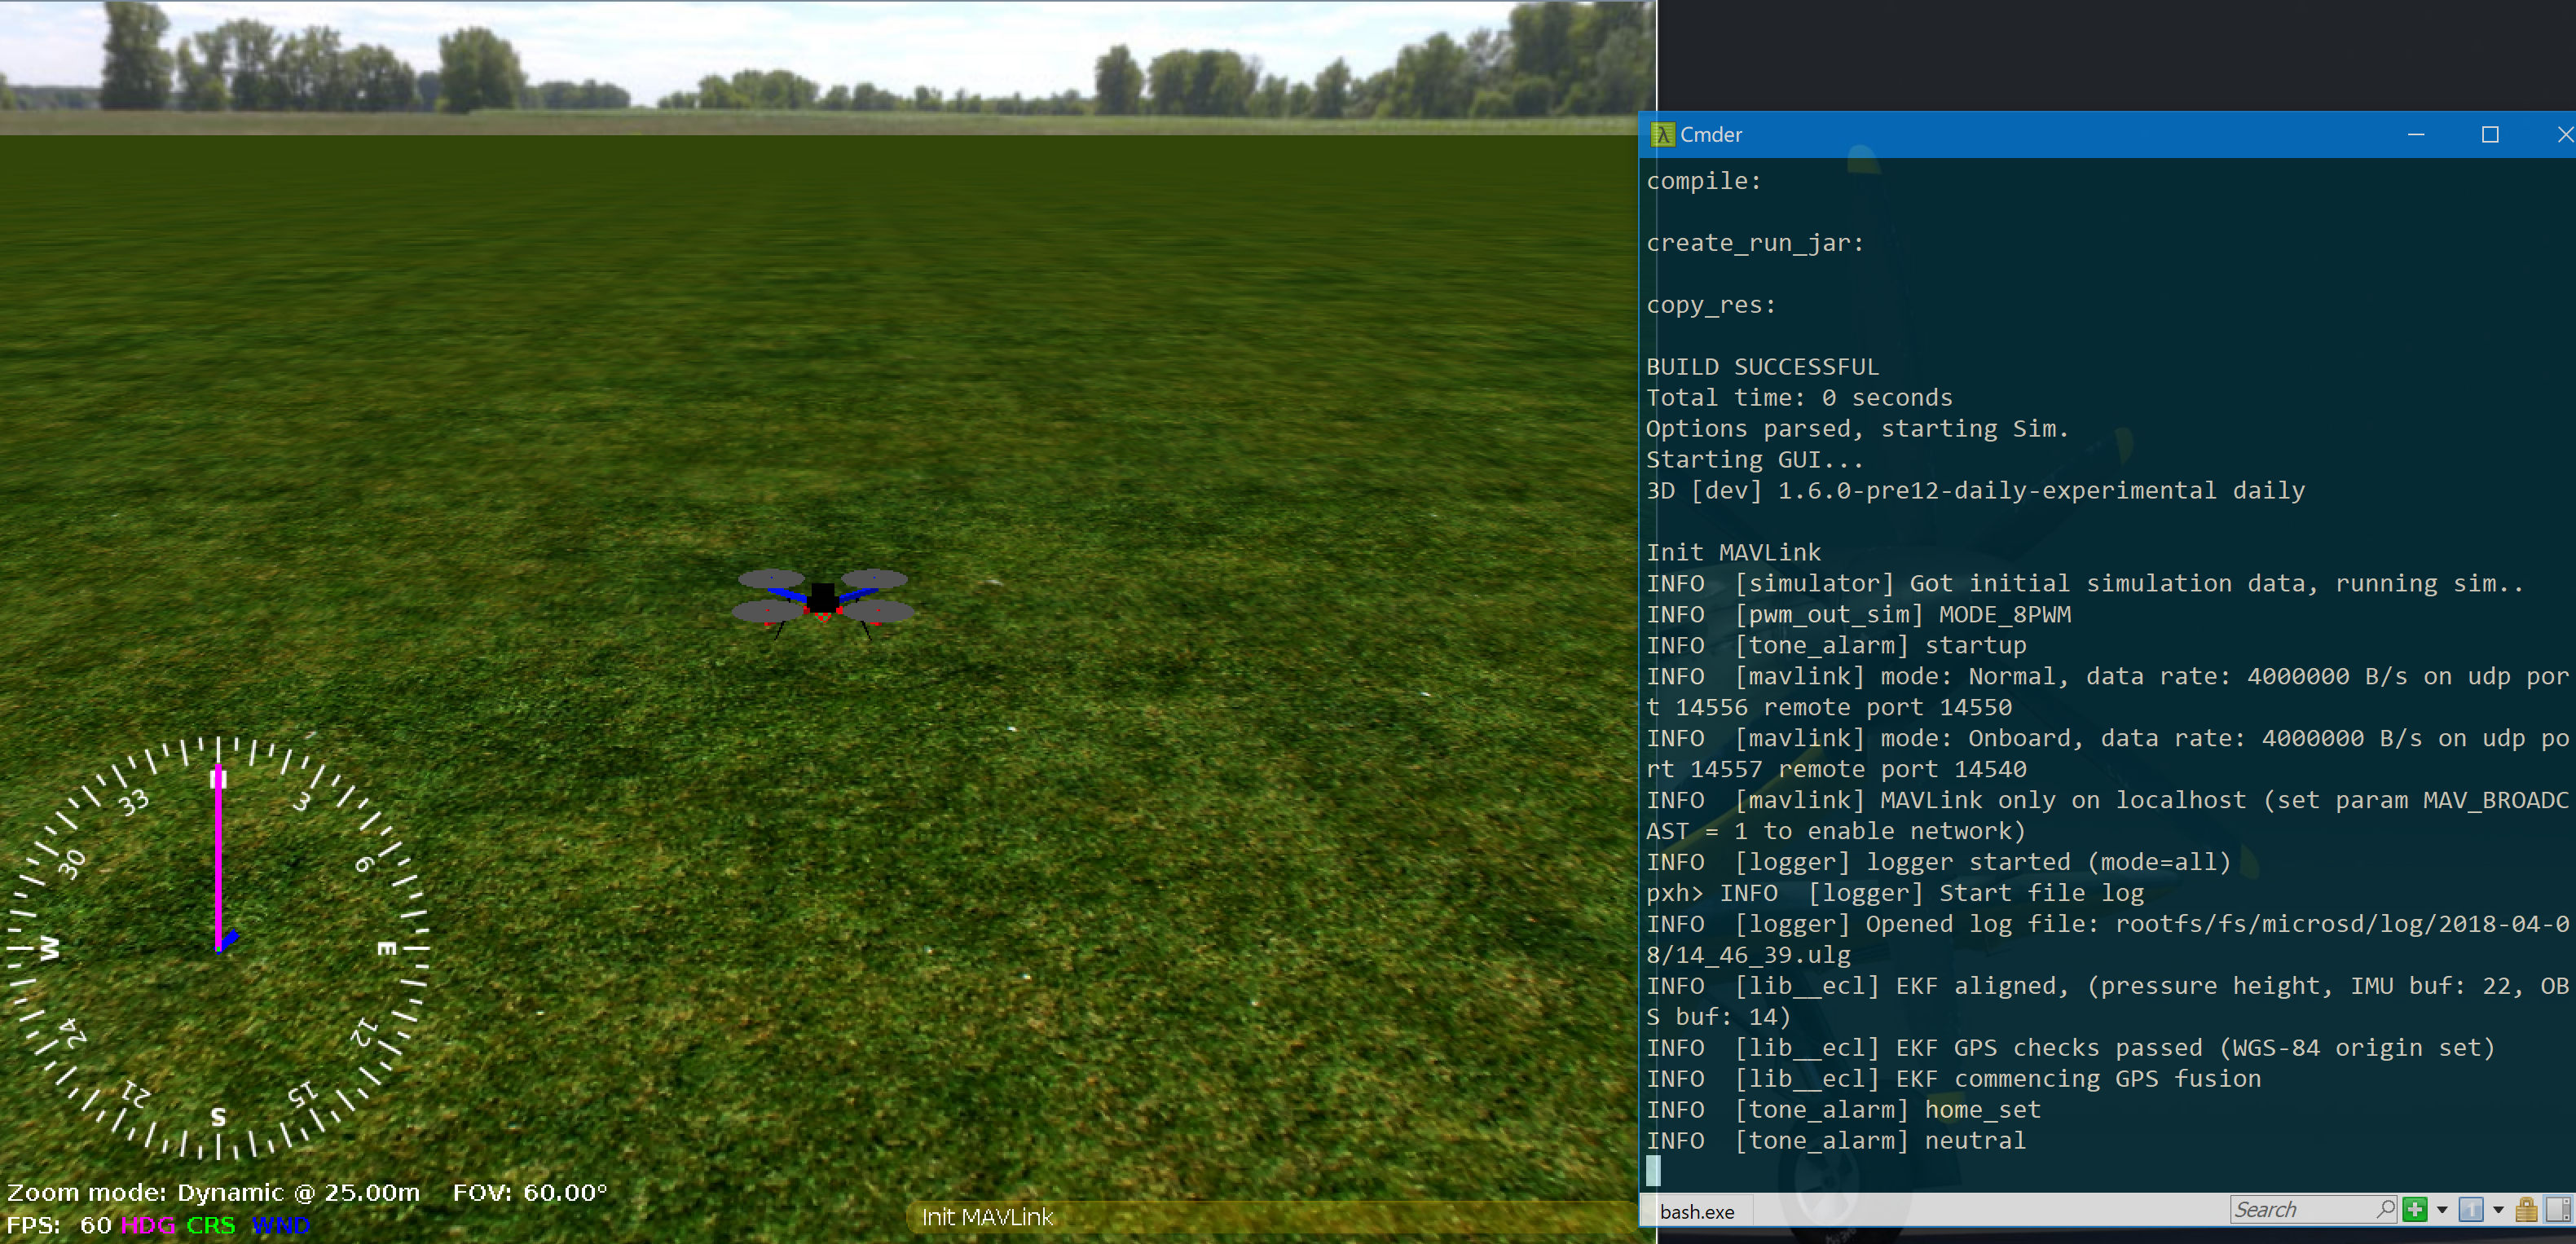
1. Start PX4 and jMAVSim in the bash shell:
```sh
make px4_sitl jmavsim
The JMAVSim UI is then displayed in XMing as shown below:
WARNING
Gazebo can similarly be run within Ubuntu Bash for Windows, but too slow to be useful. To try this, follow the ROS kinetic install guide (opens new window) and run Gazebo in the Bash shell as shown:
export DISPLAY=:0
export GAZEBO_IP=127.0.0.1
make px4_sitl gazebo
# Build Script Details
The windows_bash_nuttx.sh build script modifies the Ubuntu build instructions to remove Ubuntu-specific and UI-dependent components, including the Qt Creator IDE and the simulators.
In addition, it uses a 64 bit arm-none-eabi compiler (opens new window) since BashOnWindows doesn't run 32 bit ELF programs (and the default compiler from https://launchpad.net/gcc-arm-embedded is 32 bit).
To add this compiler to your environment manually:
- Download the compiler:
Download the compiler: sh wget https://github.com/SolinGuo/arm-none-eabi-bash-on-win10-/raw/master/gcc-arm-none-eabi-5_4-2017q2-20170512-linux.tar.bz2 - Unpack it using this command line in the Bash On Windows console: sh tar -xvf gcc-arm-none-eabi-5_4-2017q2-20170512-linux.tar.bz2 This will unpack the arm gcc cross-compiler to:
gcc-arm-none-eabi-5_4-2017q2/binThis will unpack the arm gcc cross-compiler to:tar -xvf gcc-arm-none-eabi-5_4-2017q2-20170512-linux.tar.bz2gcc-arm-none-eabi-5_4-2017q2/bin - Add the to the environment (add the line to your bash profile to make the change permanent)
export PATH=$HOME/gcc-arm-none-eabi-5_4-2017q2/bin:\$PATHexport PATH=$HOME/gcc-arm-none-eabi-5_4-2017q2/bin:$PATH