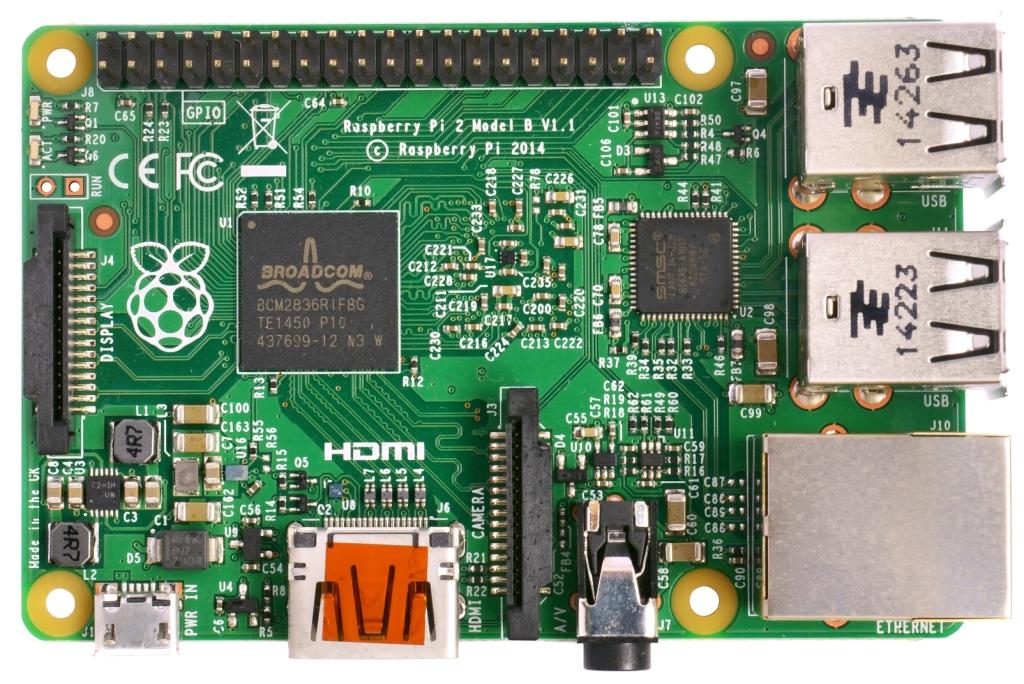
Raspberry Pi 2/3/4 Navio2 Autopilot
WARNING
PX4 does not manufacture this (or any) autopilot. Contact the manufacturer for hardware support or compliance issues.
This is the developer "quickstart" for Raspberry Pi 2/3/4 Navio2 autopilots. It allows you to build PX4 and transfer to the RPi, or build natively.

OS 이미지
Use the preconfigured Emlid Raspberry Pi OS image for Navio 2. 기본 이미지에는 아래 표시된 대부분의 설정이 완료되어 있습니다.
WARNING
Make sure not to upgrade the system (more specifically the kernel). By upgrading, a new kernel can get installed which lacks the necessary HW support (you can check with ls /sys/class/pwm, the directory should not be empty).
접근 설정
The Raspberry Pi OS image has SSH setup already. 사용자 이름은 "pi"이고, 비밀번호는 "raspberry"입니다. 이 가이드에서는 사용자 이름과 암호가 기본값으로 유지된다고 가정합니다.
To setup the Pi to join your local wifi, follow this guide, or connect it via an ethernet cable.
To connect to your Pi via SSH, use the default username (pi) and hostname (navio). Alternatively (if this doesn't work), you can find the IP address of your RPi and specify it.
sh
ssh pi@navio.local또는
sh
ssh pi@<IP-ADDRESS>파일시스템 확장
Expand the file system to take advantage of the entire SD card by running:
sh
sudo raspi-config --expand-rootfsNavio RGB 오버레이 비활성화
기존 Navio RGB 오버레이는 PX4에서 RGB Led 용으로 사용하는 GPIO를 요구합니다. Edit /boot/config.txt by commenting the line enabling the navio-rgb overlay.
#dtoverlay=navio-rgb파일 전송 테스트
SCP를 사용하여 네트워크(WiFi 또는 이더넷)를 통하여 개발 컴퓨터에서 대상 보드로 파일을 전송합니다.
설정을 테스트하려면 지금 네트워크를 통해 개발 PC에서 라즈베리파이로 파일을 푸시해보십시오. 라즈베리파이에 네트워크 접근 권한이 있는 지 확인후, SSH를 사용할 수 있습니다.
sh
echo "Hello" > hello.txt
scp hello.txt pi@navio.local:/home/pi/
rm hello.txt
This should copy over a "hello.txt" file into the home folder of your Pi. 파일이 실제로 복사되었는지 확인후, 다음 단계로 진행합니다.
PX4 Development Environment
These instructions explain how to install a PX4 development environment for building RPi on Ubuntu 18.04.
WARNING
PX4 binaries for Navio 2 can only be run on Ubuntu 18.04.
You can build PX4 using the GCC toolchain on Ubuntu 20.04, but the generated binary files are too new to run on actual Pi (as of September 2023). For more information see PilotPi with Raspberry Pi OS Developer Quick Start > Alternative build method using docker.
Install the Common Dependencies
To get the common dependencies for Raspberry Pi:
Download ubuntu.sh and requirements.txt from the PX4 source repository (/Tools/setup/):
shwget https://raw.githubusercontent.com/PX4/PX4-Autopilot/main/Tools/setup/ubuntu.sh wget https://raw.githubusercontent.com/PX4/PX4-Autopilot/main/Tools/setup/requirements.txtRun ubuntu.sh in a terminal to get just the common dependencies:
shbash ubuntu.sh --no-nuttx --no-sim-toolsThen setup a cross-compiler (either GCC or clang) as described in the following sections.
GCC (armhf)
Ubuntu software repository provides a set of pre-compiled toolchains. Note that Ubuntu Focal comes up with gcc-9-arm-linux-gnueabihf as its default installation which is not fully supported, so we must manually install gcc-8-arm-linux-gnueabihf and set it as the default toolchain. This guide also applies to earlier Ubuntu releases (Bionic). The following instruction assumes you haven't installed any version of arm-linux-gnueabihf, and will set up the default executable with update-alternatives. Install them with the terminal command:
sh
sudo apt-get install -y gcc-8-arm-linux-gnueabihf g++-8-arm-linux-gnueabihfSet them as default:
sh
sudo update-alternatives --install /usr/bin/arm-linux-gnueabihf-gcc arm-linux-gnueabihf-gcc /usr/bin/arm-linux-gnueabihf-gcc-8 100 --slave /usr/bin/arm-linux-gnueabihf-g++ arm-linux-gnueabihf-g++ /usr/bin/arm-linux-gnueabihf-g++-8
sudo update-alternatives --config arm-linux-gnueabihf-gcc
GCC (aarch64)
If you want to build PX4 for ARM64 devices, this section is required.
sh
sudo apt-get install -y gcc-8-aarch64-linux-gnu g++-8-aarch64-linux-gnu
sudo update-alternatives --install /usr/bin/aarch64-linux-gnu-gcc aarch64-linux-gnu-gcc /usr/bin/aarch64-linux-gnu-gcc-8 100 --slave /usr/bin/aarch64-linux-gnu-g++ aarch64-linux-gnu-g++ /usr/bin/aarch64-linux-gnu-g++-8
sudo update-alternatives --config aarch64-linux-gnu-gcc
Clang (optional)
First install GCC (needed to use clang).
We recommend you to get clang from the Ubuntu software repository, as shown below:
sh
sudo apt-get install clangExample below for building PX4 firmware out of tree, using CMake.
sh
cd <PATH-TO-PX4-SRC>
mkdir build/px4_raspberrypi_default_clang
cd build/px4_raspberrypi_default_clang
cmake \
-G"Unix Makefiles" \
-DCONFIG=px4_raspberrypi_default \
-UCMAKE_C_COMPILER \
-DCMAKE_C_COMPILER=clang \
-UCMAKE_CXX_COMPILER \
-DCMAKE_CXX_COMPILER=clang++ \
../..
make
코드 빌드
Specify the IP (or hostname) of your Pi using:
sh
export AUTOPILOT_HOST=navio.local또는
sh
export AUTOPILOT_HOST=192.168.X.XINFO
The value of the environment variable should be set before the build, or make upload will fail to find your Pi.
Build the executable file on your development machine:
sh
cd PX4-Autopilot
make emlid_navio2
The "px4" executable file is in the directory build/emlid_navio2_default/. Make sure you can connect to your Pi over SSH, see instructions how to access your Pi following the instructions for armhf under Raspberry Pi.
다음 명령으로 업로드하십시오.
sh
cd PX4-Autopilot
make emlid_navio2 upload
Then, connect over ssh and run it on the Pi (as root):
sh
cd ~/px4
sudo ./bin/px4 -s px4.config
A successful build followed by executing PX4 will give you something like this:
sh
______  __   __    ___
| ___ \ \ \ / /   /   |
| |_/ /  \ V /   / /| |
|  __/   /   \  / /_| |
| |     / /^\ \ \___  |
\_|     \/   \/     |_/

px4 starting.


pxh>
자동 실행
To autostart px4, add the following to the file /etc/rc.local (adjust it accordingly if you use native build), right before the exit 0 line:
sh
cd /home/pi && ./bin/px4 -d -s px4.config > px4.log