在 Ubuntu 上安装英特尔 RealSense R200 的驱动程序
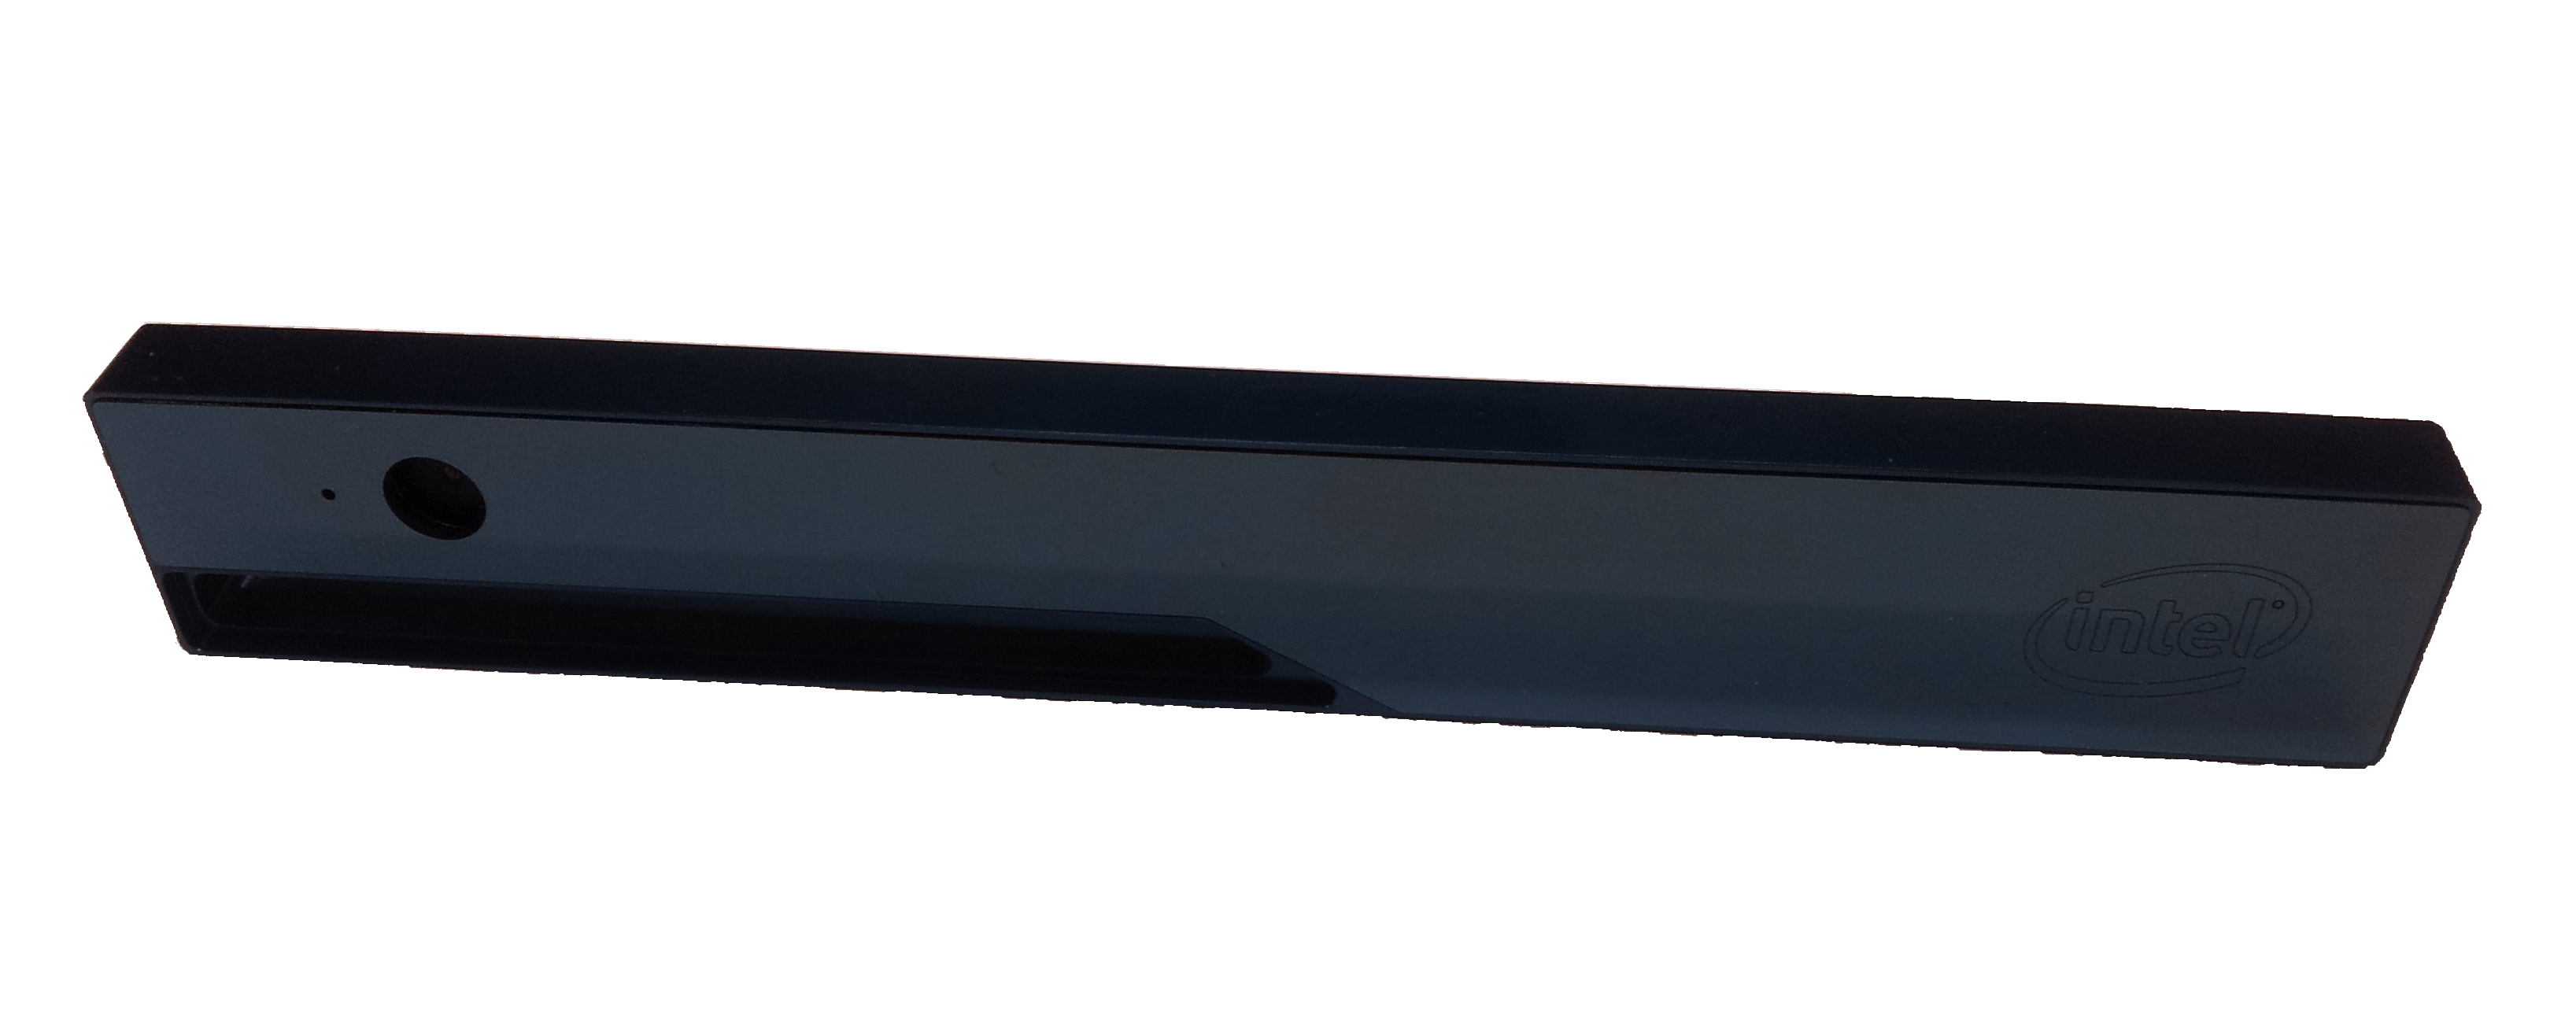
本教程旨在提供有关如何在 linux 环境中安装英特尔 RealSense R200 相机头的相机驱动程序的说明,以便可以通过机器人操作系统 ( ROS ) 访问收集到的图像。 RealSense R200 相机头如下图所示:

驱动程序包的安装是在 Virtual Box 中作为虚拟机运行的 Ubuntu 操作系统 (OS) 上执行的。 运行 Virtual Box 的宿主机、虚拟机的规格如下:
- 主机操作系统:Windows 8
- 处理器:Intel(R) Core(TM) i7-4702MQ CPU @ 2.20GHz
- Virtual Box:Oracle VM。 版本 5.0.14 r105127
- 扩展:安装了 Virtual Box 的扩展包(用于 USB3.0 支持)
- 客户机操作系统:Linux - Ubuntu 14.04.3 LTS
本教程按以下方式排序: 在第一部分中, 演示如何在 Virtual Box 中安装 Ubuntu 14.04 作为客户机系统。 第二部分会演示如何安装 ROS Indigo 和相机驱动程序。 常用短语解释如下:
- Virtual Box(VB):运行不同虚拟机的程序。 此处使用 Oracle 虚拟机。
- Virtual Machine(VM):作为访客系统在虚拟框中运行的操作系统。 此处使用 Ubuntu。
在 Virtual Box 中安装 Ubuntu 14.04.3 LTS
- 创建一个新的虚拟机 (VM): Linux 64-Bit.
- Download the iso file of Ubuntu 14.04.3 LTS: (ubuntu-14.04.3-desktop-amd64.iso).
- Ubuntu 的安装:
- 在安装过程中,保留以下两项:
- 安装时下载更新
- 安装此第三方软件
- 在安装过程中,保留以下两项:
- 安装完成后,您可能需要启用 Virtual Box 在整个桌面上显示 Ubuntu:
- Start VM Ubuntu and login, Click on Devices->Insert Guest Additions CD image in the menu bar of the Virtual Box.
- Click on Run and enter password on the windows that pop up in Ubuntu.
- 等待安装完成,然后重新启动。 现在,应该可以在整个桌面上显示 VM。
- 如果 ubuntu 中弹出一个窗口, 询问是否更新, 请在此时拒绝更新。
- 在 Virtual Box 中启用 USB 3 控制器:
- 关闭虚拟机。
- 转到 "虚拟机" 的设置到菜单选择 USB,然后选择: "USB 3.0(xHCI)"。 只有在安装了虚拟框的扩展包时, 才有可能执行此操作。
- 再次启动虚拟机。
安装 ROS Indigo
- Follow instructions given at ROS indigo installation guide:
- 安装桌面完整版。
- 执行 "初始化 rosdep" 和 "环境设置" 部分中描述的步骤。
安装摄像头驱动
安装 Git
shsudo apt-get install git下载并安装驱动:
Clone RealSense_ROS repository:
shgit clone https://github.com/bestmodule/RealSense_ROS.git
Follow instructions given in here.
无论要不要安装如下包都敲击回车:
shIntel Low Power Subsystem support in ACPI mode (MFD_INTEL_LPSS_ACPI) [N/m/y/?] (NEW)shIntel Low Power Subsystem support in PCI mode (MFD_INTEL_LPSS_PCI) [N/m/y/?] (NEW)shDell Airplane Mode Switch driver (DELL_RBTN) [N/m/y/?] (NEW)进程安装结束时如下错误信息会出现,但不应该导致驱动故障:
shrmmod: ERROR: Module uvcvideo is not currently loaded
安装结束后,重启虚拟机。
测试摄像头驱动:
- 使用 USB 线缆,一头连接电脑的 USB3 接口,另一端连接 Intel RealSense 相机。
- Click on Devices->USB-> Intel Corp Intel RealSense 3D Camera R200 in the menu bar of the Virtual Box, in order to forward the camera USB connection to the Virtual Machine.
- 执行文件 [unpacked folder]/bin/dsreadcamerainfo:
如果出现以下错误消息,请拔下相机 (从计算机物理上拔下 usb 电缆)。 Plug it in again + Click on Devices->USB-> Intel Corp Intel RealSense 3D Camera R200 in the menu bar of the Virtual Box again and execute again the file [unpacked folder]/Bin/DSReadCameraInfo.
shDSAPI call failed at ReadCameraInfo.cpp:134!如果相机驱动程序工作正常并识别 Intel RealSense R200,您应该看到有关 Intel RealSense R200 相机头的特定信息。
ROS 节点的安装和测试:
- Follow the installation instructions in the "Installation" section given here, to install the ROS nodlet.
- Follow the instructions in the "Running the R200 nodelet" section given here, to test the ROS nodlet together with the Intel RealSense R200 camera head.
- 如果一切正常,Intel RealSense R200 相机中的不同数据流将作为 ROS 主题发布。