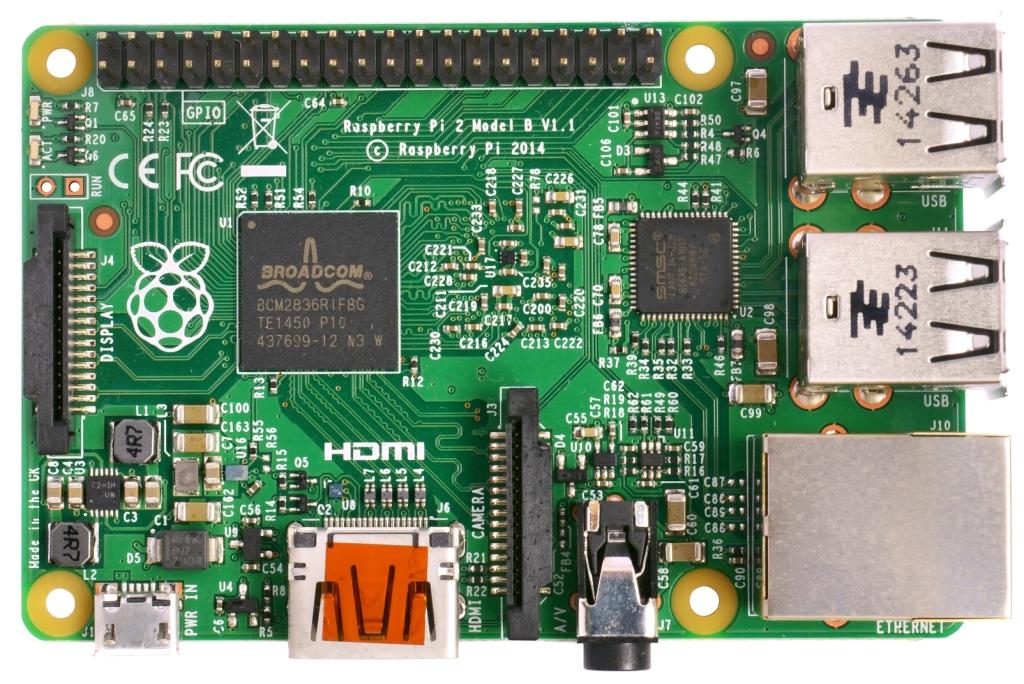
Автопілот Raspberry Pi 2/3/4 Navio2
WARNING
PX4 не розробляє цей (або будь-який інший) автопілот. Contact the manufacturer for hardware support or compliance issues.
Це "швидкий старт" розробника для автопілотів Raspberry Pi 2/3/4 Navio2. It allows you to build PX4 and transfer to the RPi, or build natively.

OS Image
Use the preconfigured Emlid Raspberry Pi OS image for Navio 2. Образ за замовчуванням вже містить більшість процедур налаштування, показаних нижче.
WARNING
Make sure not to upgrade the system (more specifically the kernel). By upgrading, a new kernel can get installed which lacks the necessary HW support (you can check with ls /sys/class/pwm, the directory should not be empty).
Встановлення доступу
Образ OS Raspberry Pi вже має налаштований SSH. Ім'я користувача "pi" та пароль "raspberry". Для цілей цього посібника ми припускаємо, що ім'я користувача та пароль залишаються цими за замовчуванням.
To setup the Pi to join your local wifi, follow this guide, or connect it via an ethernet cable.
To connect to your Pi via SSH, use the default username (pi) and hostname (navio). Крім того (якщо це не спрацювало), ви можете знайти IP-адресу вашого RPi та вказати її.
sh
ssh pi@navio.localабо
sh
ssh pi@<IP-ADDRESS>Розширення файлової системи
Розширте файлову систему, щоб використовувати всю SD-карту під час запуску:
sh
sudo raspi-config --expand-rootfsВимикання оверлея Navio RGB
Існуючий оверлей Navio RGB використовує GPIO, що використовуються PX4 для RGB Led. Edit /boot/config.txt by commenting the line enabling the navio-rgb overlay.
#dtoverlay=navio-rgbТестування передачі файлів
Ми використовуємо SCP для передачі файлів з комп'ютера для розробки на цільову плату через мережу (WiFi або Ethernet).
Щоб перевірити налаштування, спробуйте передати файл з ПК для розробки на Pi через мережу зараз. Переконайтеся, що у Pi є доступ до мережі, і ви можете використовувати SSH для входу.
sh
echo "Hello" > hello.txt
scp hello.txt pi@navio.local:/home/pi/
rm hello.txt
Це повинно скопіювати файл "hello.txt" у домашню директорію вашого Pi. Перевірте, що файл дійсно було скопійовано, і ви можете перейти до наступного кроку.
PX4 Development Environment
These instructions explain how to install a PX4 development environment for building RPi on Ubuntu 18.04.
WARNING
PX4 binaries for Navio 2 can only be run on Ubuntu 18.04.
You can build PX4 using the GCC toolchain on Ubuntu 20.04, but the generated binary files are too new to run on actual Pi (as of September 2023). For more information see PilotPi with Raspberry Pi OS Developer Quick Start > Alternative build method using docker.
Install the Common Dependencies
To get the common dependencies for Raspberry Pi:
Download ubuntu.sh and requirements.txt from the PX4 source repository (/Tools/setup/):
shwget https://raw.githubusercontent.com/PX4/PX4-Autopilot/main/Tools/setup/ubuntu.sh wget https://raw.githubusercontent.com/PX4/PX4-Autopilot/main/Tools/setup/requirements.txtRun ubuntu.sh in a terminal to get just the common dependencies:
shbash ubuntu.sh --no-nuttx --no-sim-toolsThen setup a cross-compiler (either GCC or clang) as described in the following sections.
GCC (armhf)
Ubuntu software repository provides a set of pre-compiled toolchains. Note that Ubuntu Focal comes up with gcc-9-arm-linux-gnueabihf as its default installation which is not fully supported, so we must manually install gcc-8-arm-linux-gnueabihf and set it as the default toolchain. This guide also applies to earlier Ubuntu releases (Bionic). The following instruction assumes you haven't installed any version of arm-linux-gnueabihf, and will set up the default executable with update-alternatives. Install them with the terminal command:
sh
sudo apt-get install -y gcc-8-arm-linux-gnueabihf g++-8-arm-linux-gnueabihfSet them as default:
sh
sudo update-alternatives --install /usr/bin/arm-linux-gnueabihf-gcc arm-linux-gnueabihf-gcc /usr/bin/arm-linux-gnueabihf-gcc-8 100 --slave /usr/bin/arm-linux-gnueabihf-g++ arm-linux-gnueabihf-g++ /usr/bin/arm-linux-gnueabihf-g++-8
sudo update-alternatives --config arm-linux-gnueabihf-gcc
GCC (aarch64)
If you want to build PX4 for ARM64 devices, this section is required.
sh
sudo apt-get install -y gcc-8-aarch64-linux-gnu g++-8-aarch64-linux-gnu
sudo update-alternatives --install /usr/bin/aarch64-linux-gnu-gcc aarch64-linux-gnu-gcc /usr/bin/aarch64-linux-gnu-gcc-8 100 --slave /usr/bin/aarch64-linux-gnu-g++ aarch64-linux-gnu-g++ /usr/bin/aarch64-linux-gnu-g++-8
sudo update-alternatives --config aarch64-linux-gnu-gcc
Clang (optional)
First install GCC (needed to use clang).
We recommend you to get clang from the Ubuntu software repository, as shown below:
sh
sudo apt-get install clangExample below for building PX4 firmware out of tree, using CMake.
sh
cd <PATH-TO-PX4-SRC>
mkdir build/px4_raspberrypi_default_clang
cd build/px4_raspberrypi_default_clang
cmake \
-G"Unix Makefiles" \
-DCONFIG=px4_raspberrypi_default \
-UCMAKE_C_COMPILER \
-DCMAKE_C_COMPILER=clang \
-UCMAKE_CXX_COMPILER \
-DCMAKE_CXX_COMPILER=clang++ \
../..
make
Збірка коду
Вкажіть IP-адресу (або ім'я хоста) вашого Pi:
sh
export AUTOPILOT_HOST=navio.localабо
sh
export AUTOPILOT_HOST=192.168.X.XINFO
The value of the environment variable should be set before the build, or make upload will fail to find your Pi.
Скомпілюйте виконувальний файл на вашому комп'ютері для розробки:
sh
cd PX4-Autopilot
make emlid_navio2
The "px4" executable file is in the directory build/emlid_navio2_default/. Make sure you can connect to your Pi over SSH, see instructions how to access your Pi following the instructions for armhf under Raspberry Pi.
Потім завантажте його за допомогою:
sh
cd PX4-Autopilot
make emlid_navio2 upload
Потім підключіться через ssh та запустіть його на Pi (як root):
sh
cd ~/px4
sudo ./bin/px4 -s px4.config
A successful build followed by executing PX4 will give you something like this:
sh
______  __   __    ___
| ___ \ \ \ / /   /   |
| |_/ /  \ V /   / /| |
|  __/   /   \  / /_| |
| |     / /^\ \ \___  |
\_|     \/   \/     |_/

px4 starting.


pxh>
Автозавантаження
To autostart px4, add the following to the file /etc/rc.local (adjust it accordingly if you use native build), right before the exit 0 line:
sh
cd /home/pi && ./bin/px4 -d -s px4.config > px4.log